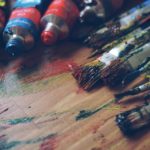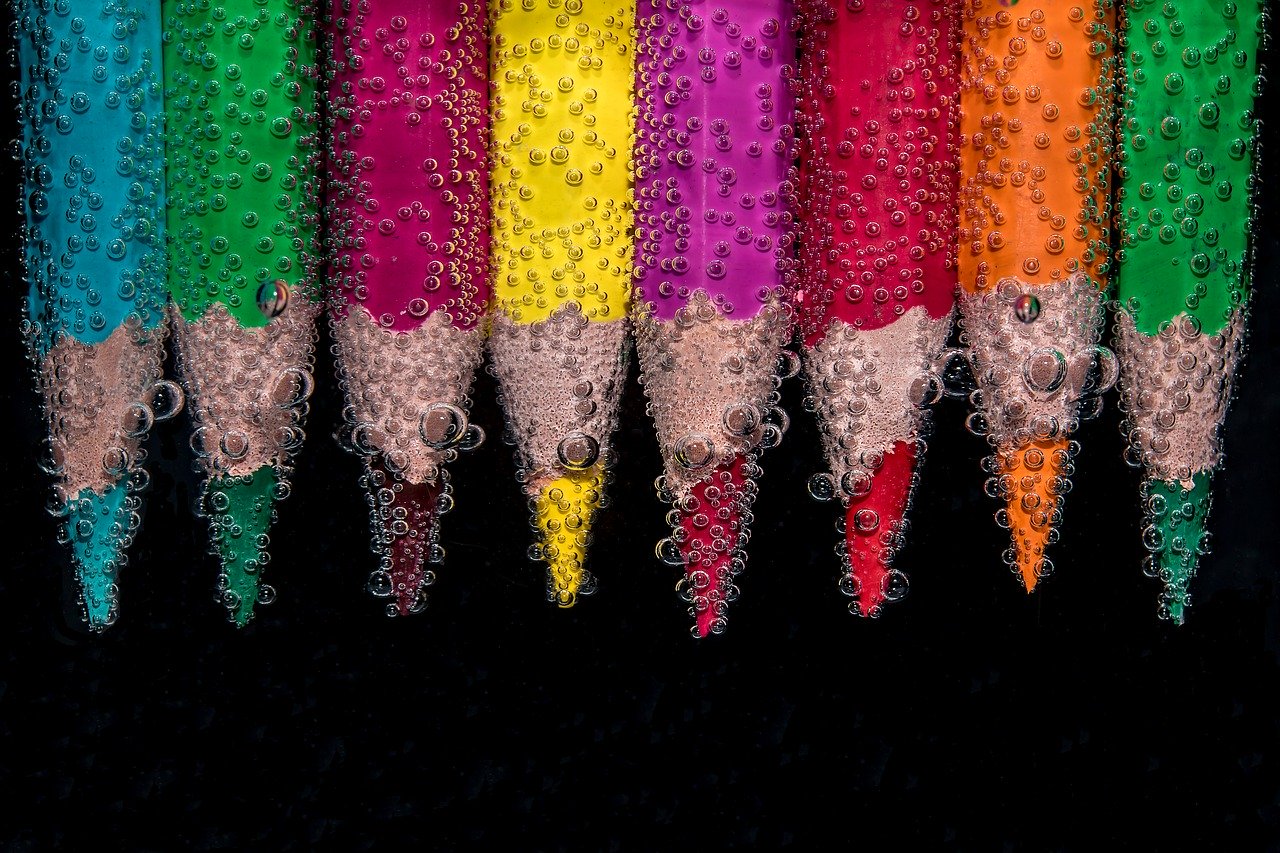

Beautiful drawings can either be in black and white, or it can be colored. If you want to draw colored artworks, you need to learn how to blend color pencils properly. Remember that blending the colors takes skills and precision to accomplish. You need to learn how to process blending without causing ugly smudges or mistakes on your drawing. Unlike regular pencil marks, colored drawings are not easy to erase. And so utmost care must be taken in blending the colors.
Three blending categories
You may find numerous ways to blend the colors on your drawing, but there are three basic categories for this task.
Pencil blending
The most obvious method of blending colored pencils is actually to use them to for blending. You simply need to draw layers of different colored pencils to create a blend. The term used for drawing one layer of colored pencil on top of another is called burnishing. In this method, you should utilize the pressure of your hand to push through the layers of color in order to blend them. And though you can choose any color to burnish other colors, it is ideal to use light shades. Always remember that the choice of burnishing color can affect the overall appearance of your drawing. So be careful in the selection.
It is important to note that in burnishing, it is wise to utilize a dulled pencil. A sharp tip can only break when pressure is applied on the paper, and it can even tear your drawing apart.
Dry blending
Dry blending is a method that does not involve the use of solvents. Instead, the blending tools can be found in your home, like bathroom tissue or paper towel. Using either of the household products can create a finish that is eggshell smooth. Plus they are very easy to use. You just need to fold the paper product into something smaller, and use it to rub on the colors that you wish to blend. Dry blending requires you to rub heavily on the surface to get the best results. This method results in a light blend of colors, and t is perfect if you need light effects only.
In dry blending, you can also utilize blending stumps or tortillons. They produce even more lightly blend of colors compared to paper towels or bathroom tissues. And these products are perfect for small sections.
Solvent blending
Solvent blending involves the use of basic solvents that ranges from mild to aggressive. These solvents are odorless mineral spirits, rubbing alcohol, and turpentine. The binding agent of the colors is dissolved by the solvents, which allows you to successfully blend the colors. However, before you start blending using solvents, test the method using a scratch paper of the same quality as your drawing. You need to make sure that your paper will not warp, buckle, or tear when you apply the solvents. It is also a great way of testing how you want the colors to look like after the blending. Moreover, you need to understand that blending using solvents may cause your colors to be erased, especially when you are using extremely smooth paper. So be careful and test first.
Three basic solvents for blending
Let us discuss the three blending solvents that are typically used by artists.
Rubbing alcohol
Rubbing alcohol is perfect if you intend to do light blending only. You would need a high amount of pigment to get better results. But low pigment is also good to work with rubbing alcohol.
In blending with rubbing alcohol, you need cotton balls, painting brushes, or swabs to complete your mission. You even have the option to use a bristle brush since rubbing alcohol is a mild solvent. And of course, you can use the latter item of your drawing paper is strong enough to handle the pressure.
Odorless mineral spirits
The odorless mineral spirits is more efficient than the rubbing alcohol. The wax binder is broken down effectively using this solvent, which allows the pigment to blend freely. With this solvent, you need a good amount of pigments to complete the job. And you can also produce a watercolor-like wash using this kind of blending solvent.
Depending on the strength of your paper, you can melt a bit of color using the odorless mineral spirits. This is to achieve a much lighter tint of blended colors. The result is a saturated and painterly appearance.
The best kind of odorless mineral spirits is the product that is typically used for oil painting.
In blending with this solvent, you should use soft brushes or bristle. Heavy pigment is needed for the best result, though smaller pigment will do. At first, apply traditional handwriting pressure on your drawing. You can use heavy pressure later on if you want to create more detailed result. Also, applying too much of pressure may remove the color or scuff the drawing paper, so do forget to test this method prior to doing it.
Turpentine
Turpentine is the strongest blending solvent out of the three options. It is applied to your drawing the same manner as the odorless mineral spirit. It is very potent, as it can dissolve the wax binder more than the other solvents. This solvent may erase the colors, so pay close attention to what you are doing.
Conclusion
Blending colors is somewhat simple yet complicated at the same time. But doing so enhances the beauty of your drawing. What you need to remember is to use the most durable and high quality paper to draw in, especially when you plan to blend colored pencils. Any of the three methods can be tough on the paper, and you want to avoid tearing the paper as much as possible.
Try practicing all three blending techniques in order to know which one is more comfortable for you to use. Mastery of the blending methods is surely a beneficial skill that you can optimize to improve your colored drawings.