
Art inspiration can be found anywhere, whether it is inside your home, or outdoors. Armed with your desire to learn how to draw step by step, you can consult artists, read and watch tutorials, and self-learn. No one is really technically a beginner in drawing, since in your younger years you experienced drawing something in school. May it be a school project or a simple sketching to ease boredom. So it is definitely safe to say that you already have experience in drawing, no matter how trivial. And with that knowledge, you can start learning the art of drawing with confidence that you can do it. Let us look at the step by step process of drawing in the most basic sense.
Gather drawing supplies
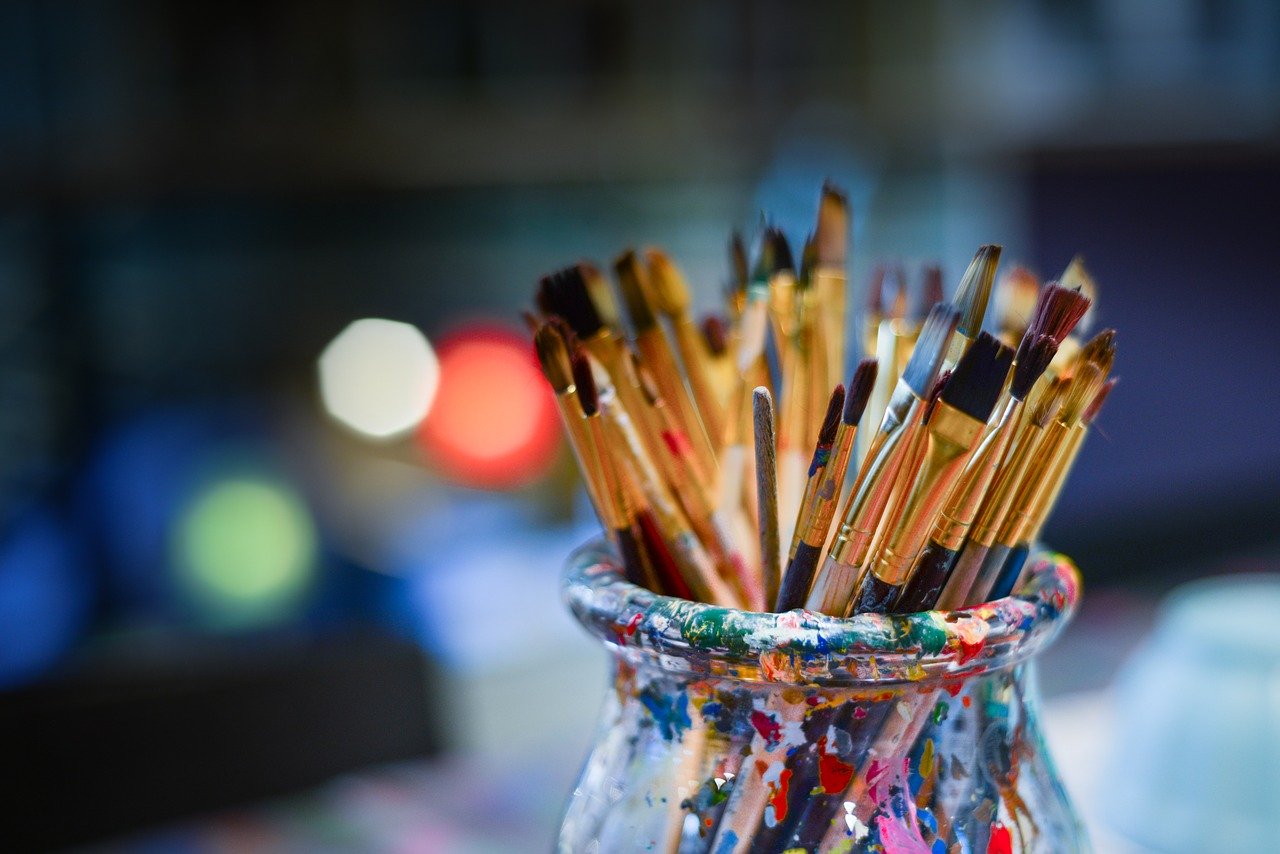
You need to understand that no mater good an artist you are, you cannot produce the best drawings with low quality drawing supplies. Your drawing items are the key to excellently expressing your creativity. Do not limit yourself by buying cheap materials. Invest in the most premium drawing supplies, and be rewarded with gorgeous work of art.
Here are the basic drawing supplies for your drawing process:
- Artist’s pencils – designed for drawing
- Paper or sketchbook – for drawing your subjects
- Eraser – essential for clearing drawing mistakes
- Pencil sharpener – crucial in forming a slightly dulled pencil
- Watercolor or colored pens – for adding color to drawings
- Drawing charcoal – perfect for sketching
- Paper stumps or tortillons – blending tools for broader areas
Select your subject
Choose a subject that interests you. It is important that you have a personal liking to your subject, so you are inspired to draw. But, make sure that you select a subject that has a basic shape and easy to draw. You can move to more complex subjects once you become a bit of an expert in drawing.
Draw outline or contour
Start with an outline or contour of your subject. Thread your pencil lightly, and do not push too hard on the paper. Just relax and let your hand work in coordination with your mind. You can use short or long lines in your outline, depending on what you are comfortable with. Do not feel disheartened if you make mistakes. Erasers are there for a reason, so use them.
Start shading
Shading makes your subject look more real. The trick is to let the natural whiteness of the paper be the highlight of the subject. Draw shading on the dark areas or mid-tones of your subject. Use the side of your artist’s pencil to create a shade that is more visible in the paper. You can also shade across the contour of your subject and use your eraser edge to help outline your subject after shading.
Cross-contour shading
Be conscious about the movements and shape of your hands. Avid making a curved line with your drawing hand, and it take a lot of practice to accomplish. You can do cross-contouring shading by making the paper follow your pencil to shade the shape of your subject. So instead of your hand moving around the paper, your paper is making the motions to let your pencil do the shading.
Lifting highlights and shading shadows
If you have shaded a section of your subject too darkly, you can always lift the highlights by lightly erasing the dark tone. You can also intentionally shade a light area of your subject and then purposely erase it slightly in order to create a more realistic appearance. Never be scared to experiment using your pencil and eraser. If you make a mistake or want to lighten or darken an area, you can always do so anytime.
Add colors
If you are a novice in drawing, it could get tricky to add colors to your drawing. But of course you need to practice doing so. Apply watercolor or colored pencil lightly on the areas you want to brighten, and avoid pressing so much on the paper. However, if you are still a beginner in the drawing community, it is better to master the art of outlining, contouring, and shading first before you play with colors.
Final scrutiny
Now that you have finished drawing, it is time to look for inaccuracies and check for any improvement you can do. Remember to stay positive and take every difficulty as a challenge to be better. Re-do your drawing until you are satisfied with the result.
Tips on Drawing
Here are some tips on drawing:
- Shine a light on your subject to clearly see where to put your shadows and highlights on your drawing.
- Learn to blend the tones of your drawing.
- Let the eraser be your new bestfriend.
- Remember that mistakes are part of your learning process. Learn from them.
- Read books or watch videos about drawing to gain some new techniques.
- Practice drawing every day until you become very familiar with your drawing process.
- Always purchase high quality drawing materials, and never settle for cheap supplies.
- Be confident in drawing. You can never create a piece of art if you always doubt your abilities.
- Join drawing workshops so can get new insights about your chosen craft.
- Be proud of your progress, no matter how small. Build your self-esteem gradually, and you get better results.
Bottomline
You need to always remember that your skills at drawing take time to develop and perfect. Learn to have the patience to practice and practice when you have time. Learn from every single subject and drawing, and work harder to be better than your yesterday’s drawing. Drawing is fun, exciting, and educational, and it is an amazing hobby. But it can also turn into a career if you wish to. Whatever reason you have to learn how to draw, use that as an inspiration to achieve your goals. Be like a sponge that absorbs any drawing knowledge in order to improve your skills. Never back down from a challenging subject or situation. Rather, have the courage to face your doubts and continue drawing.